 Created in 2007 by the Pennsylvania Office of Child Development and Early Learning (OCDEL), The Pennsylvania Key implements the work and supports the policies developed and managed by OCDEL. Learn More. >
Created in 2007 by the Pennsylvania Office of Child Development and Early Learning (OCDEL), The Pennsylvania Key implements the work and supports the policies developed and managed by OCDEL. Learn More. >
Created in 2007 by the Pennsylvania Office of Child Development and Early Learning (OCDEL), The Pennsylvania Key implements the work and supports the policies developed and managed by OCDEL. Learn More. >When you schedule an event, you can select online registration and participants will pay through the Registry to your STRIPE account. Please make sure to read the information within STRIPE.com on how to transfer funds to your bank account once your event is complete. You will also need to determine how to refund individuals if an event is cancelled or if a person unregisters from the event.
To create a Stripe account, visit Stripe Dashboard and select Create Account. Then, follow the on-screen prompts to complete the setup.
Stripe may ask for additional documentation to verify your business details.
Additional steps activate your account and set up two-factor authentication.
Account activation: To activate your account, you may need to provide banking and identification information. The form you fill out may vary depending on your country.
Using Stripe: Once your account is activated, you can use Stripe to accept payments from credit cards, debit cards, and other payment methods. You can also integrate Stripe with The PD Registry.
This video may also help you learn how to create a Stripe account:
Once the above is completed, please follow the below steps to link your stripe account within the PD Registry.
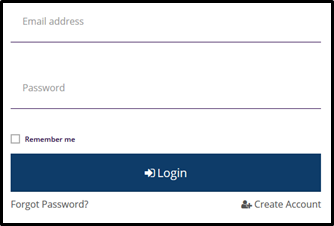
Click Login in the top right corner.
Enter your email address and password, then click Login.
Click the drop‐down menu by your name and select your organization profile (purple box).

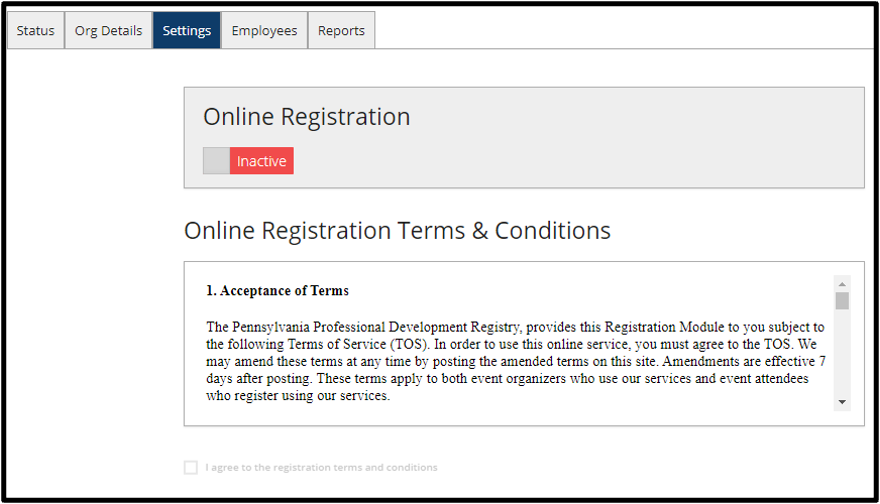
Click the Settings tab, then click on Inactive to change status to Active. You will see a pop up on your screen after this step.
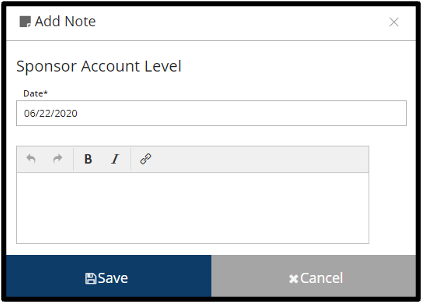
Click Save on the screen which displays the date.
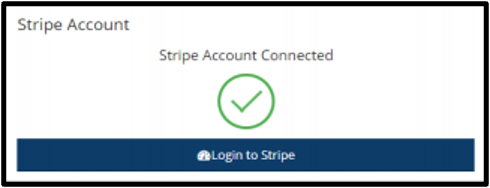
Click Link Stripe Account

You are now connected to STRIPE.
The PD Registry
registry@pakeys.org
800-284-6031